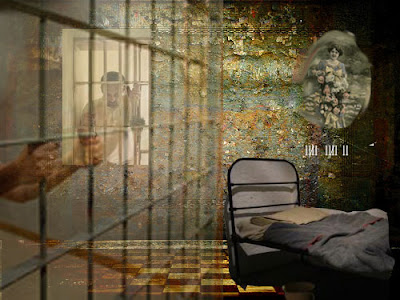
I have had several people ask me how did this collage.
First of all I am an amateur when it comes to Photoshop. I taught myself with tips from here and there and determination and trial and error. I still have much to learn but in order to do what I wanted to do it is mainly layers, moving those layers, cut and paste and adjusting the opacity of an image .
Photoshop is all about the LAYERS.
If you are not familiar with Photoshop none of this will make sense.
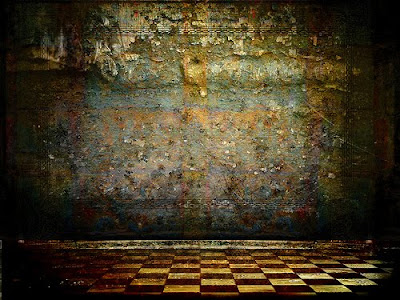 This image was given to me to do a challenge . The fist thing I saw when looking at this picture was a cold dirty prison cell.
Step #1. I opened a new file in Photoshop. Opened a new layer and clicked browse and found this photo and downloaded it on to the first layer. I found that if when you download on to the background you cannot change it so that is why you open a new file and then open a new layer. You can change things on a layer.
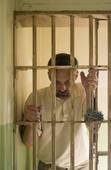 Step #2. I opened another new layer and clicked browse, found this photo and downloaded it in to the first layer which by the way will say it is now the background. Adjusting the size to fit onto the first layer I then took the move tool and moved it to the first layer. You can move images by clicking the move tool. I put the image where I wanted it and I then clicked the opacity button at the right of the Photoshop screen and moved the opacity slider to a lesser percentage. This makes the image look like you can see through it.
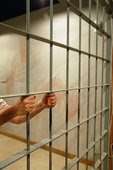
Step #3. I opened a new layer and clicked browse, found this photo and downloaded it on to layer 3. I clicked the move tool and moved it to layer1 and same as step #2, I moved the image to where I wanted it and then adjusted the opacity to make it seem transparent.
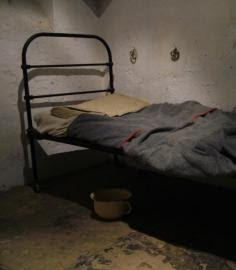
Step #4. Open an new layer and down loaded this photo of an old prison bed. (All images were found online and then downloaded into my photo file so I could get them and download on to my layers).
With the image of the prison bed on my layer, I clicked the Magnetic Lasso Tool and outlined the area of the photo I wanted to use. I then clicked the Select Tool and went up to Edit Image and clicked Cut. Then I went back to the Select Tool and clicked layer #1, then went up to Edit and clicked Paste. There the image I cut of the bed appeared on layer #1.
I clicked the move tool to adjust the location of the bed. Then I clicked the smudge tool selecting a brush and went around the area around the bed blending the cut edges to make them look softer and not like they were cut.
Step #5, I opened a new layer and clicked on the Text tool. To enter text onto a layer you click the Select Tool and then put your cursor where you want your text to appear on the layer and then start typing. You can select the size and color of your Font by using the tool bar at the top of the Photoshop screen while the Text Tool is open. This is where I made the marks to look as though the prisoner was keeping track of the years spent in this cold dirty cell.
Step #6. I opened a new layer and clicked browse to find an image of a young women and then I repeated the same thing as Step #4.
I hope this makes sense. If I can answer any questions I will be happy to . I am more than willing to share what I have learned in Photoshop. I know how frustrating it is to want to learn this program. I was blessed to have a friend that installed the latest version Adobe Photoshop CS3 Version 10.
Okay, there you go. This is how I did this digital collage.

3 comments:
Thanx for the tutorial ! :)
Patti Thank you honey for the generous sharing of your techniques. I do not have Photoshop just another photo program that I cannot figure out what to do with it other than mainly framing, however Photoshop is on my Christmas list for hubby's buying pleasure!!!!!!
Thanks for the tips. I ditto mixmollye.....I have a program I can't quite figure out but will soon by getting Photoshop Elements which I plan on playing with all winter long! Lovely work you do, and I love old barns too!
Post a Comment